Service Manual (KLZ1000C) — page 197 of 762
Engine Top End › Valve Guide Removal
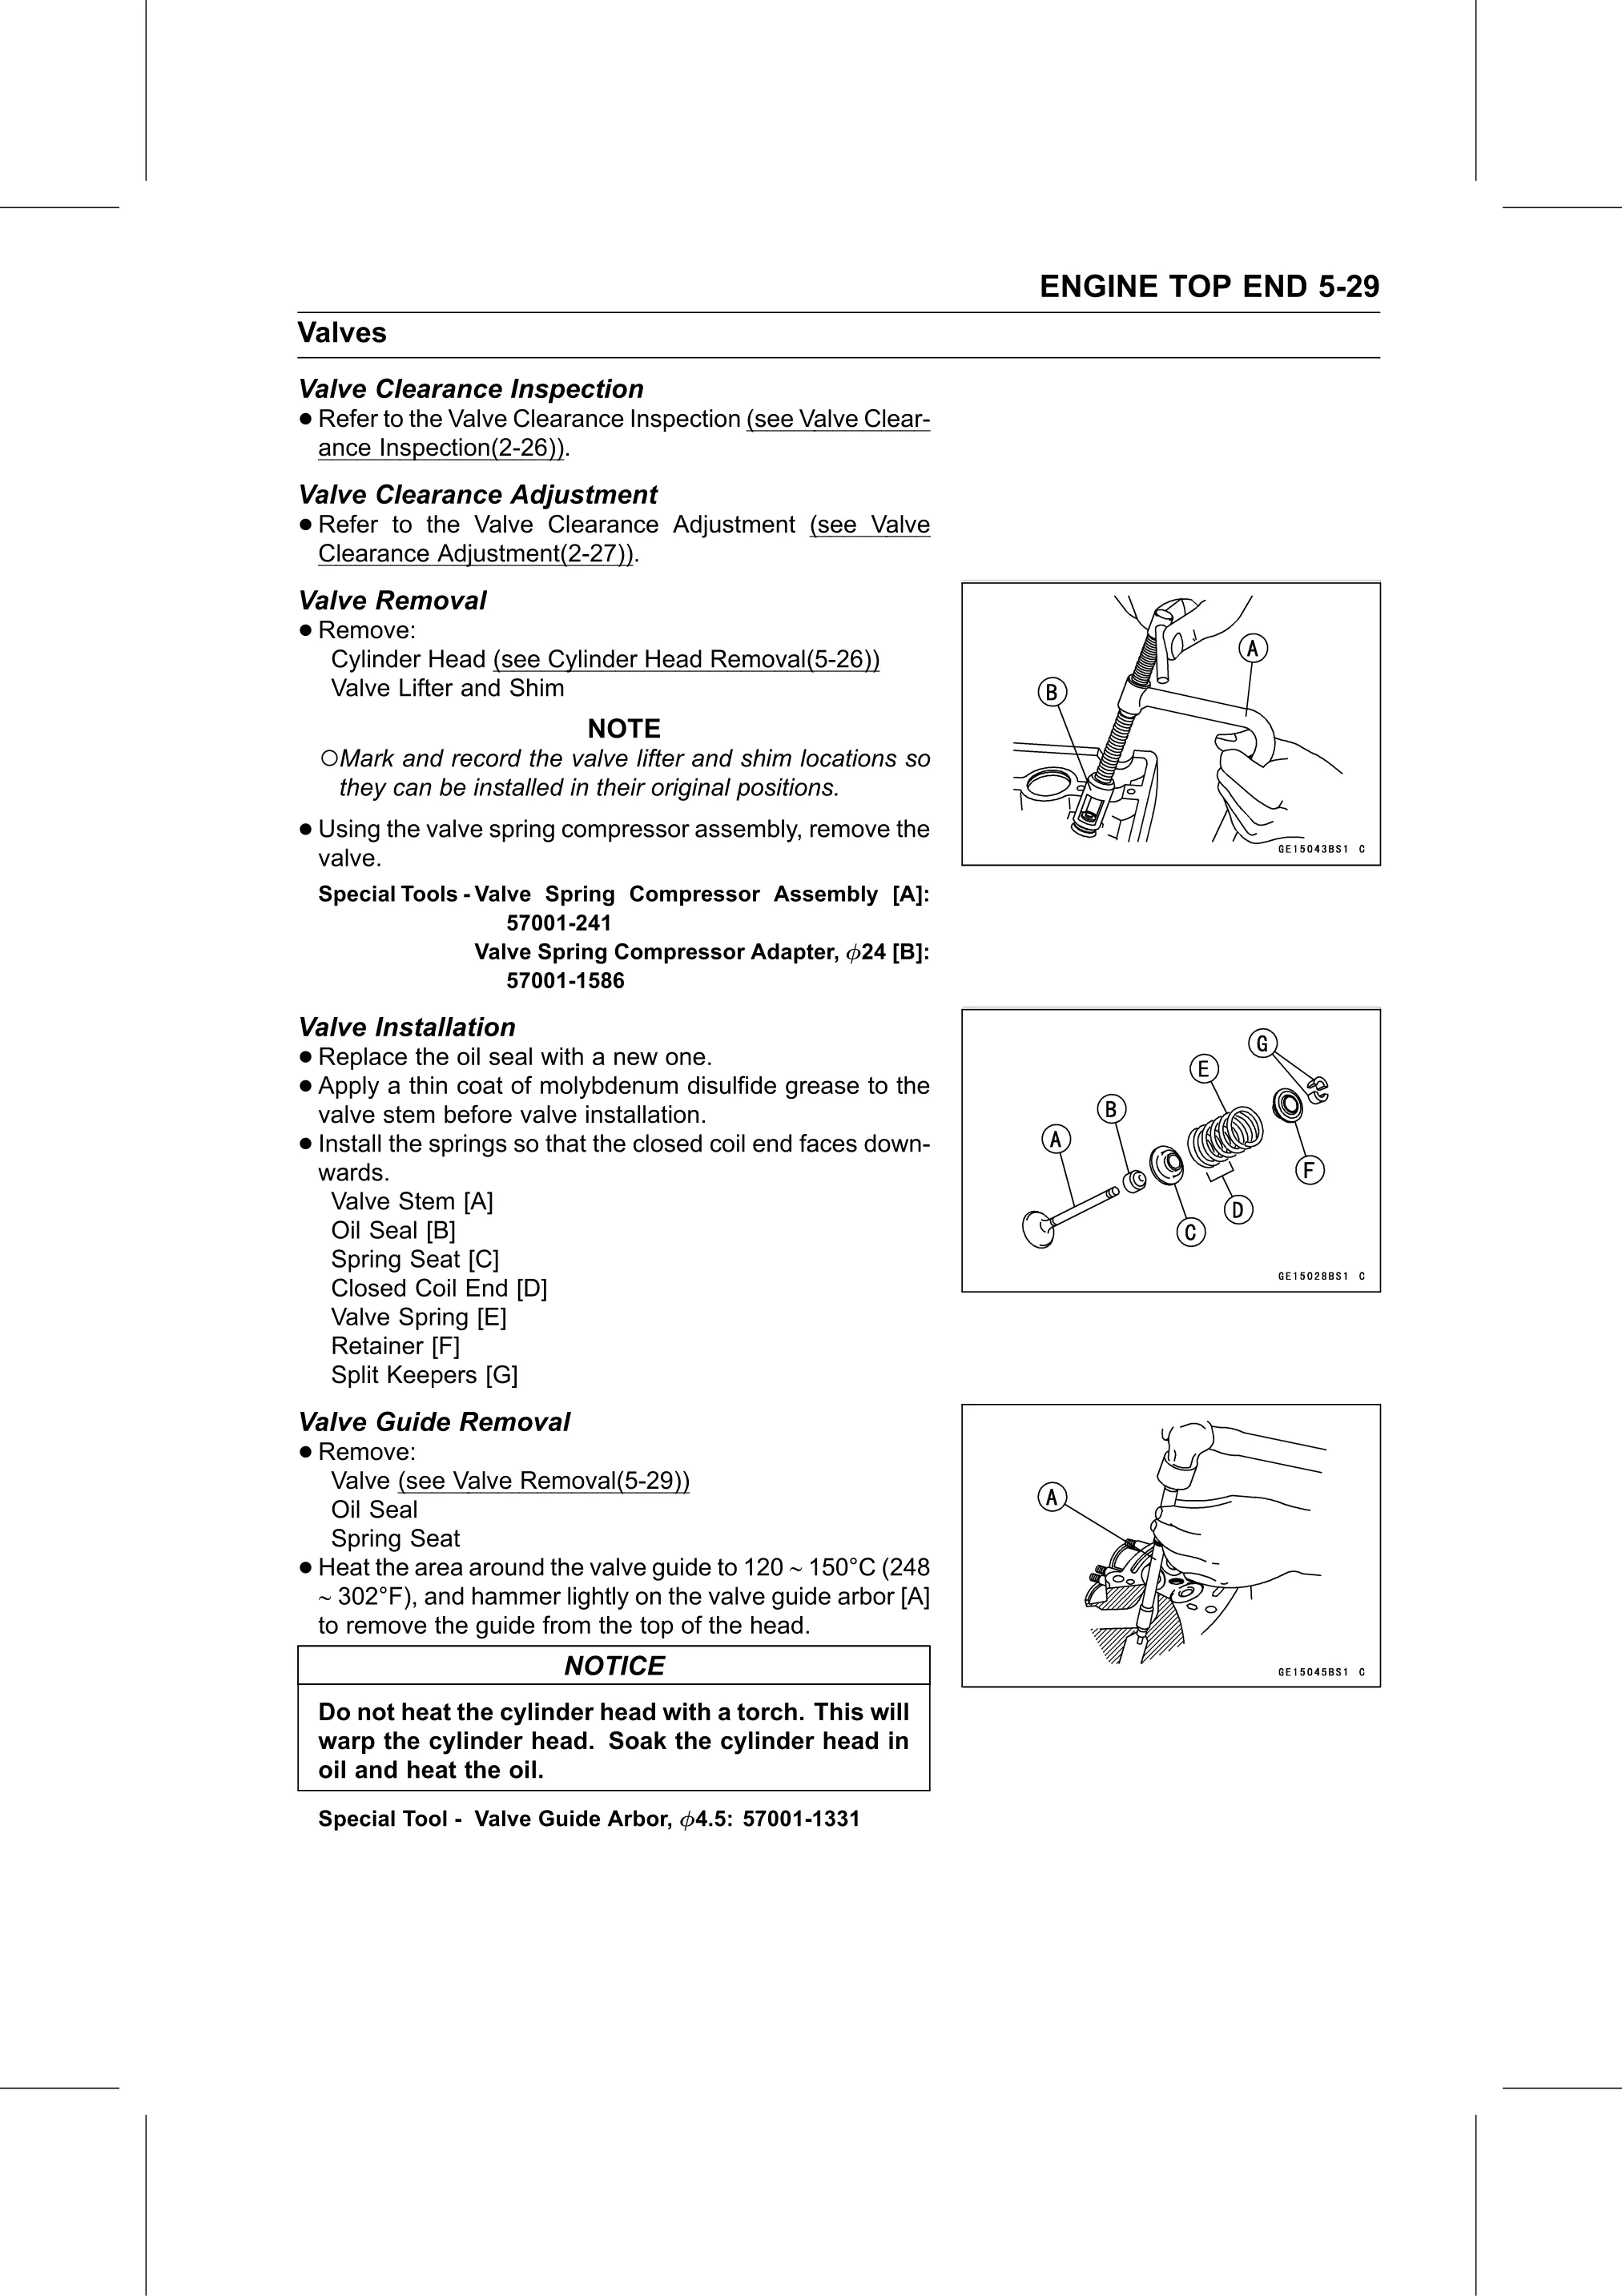
Text on this page
ENGINE TOP END 5-29
Valves
Valve Clearance Inspection
• Refer to the Valve Clearance Inspection (see Valve Clear-
ance Inspection(2-26)).
Valve Clearance Adjustment
• Refer to the Valve Clearance Adjustment (see Valve
Clearance Adjustment(2-27)).
Valve Removal
• Remove:
Cylinder Head (see Cylinder Head Removal(5-26))
Valve Lifter and Shim
NOTE
○Mark and record the valve lifter and shim locations so
they can be installed in their original positions.
• Using
valve.
the valve spring compressor assembly, remove the
Special Tools - Valve Spring Compressor Assembly [A]:
57001-241
Valve Spring Compressor Adapter, 24 [B]:
57001-1586
Valve Installation
• Replace the oil seal with a new one.
• valve stem before
Apply a thin coat of molybdenum disulfide grease to the
valve installation.
• wards.
Install the springs so that the closed coil end faces down-
Valve Stem [A]
Oil Seal [B]
Spring Seat [C]
Closed Coil End [D]
Valve Spring [E]
Retainer [F]
Split Keepers [G]
Valve Guide Removal
• Remove:
Valve (see Valve Removal(5-29))
Oil Seal
Spring Seat
• Heat the area around the valve guide to 120 150°C (248
302°F), and hammer lightly on the valve guide arbor [A]
to remove the guide from the top of the head.
NOTICE
Do not heat the cylinder head with a torch. This will
warp the cylinder head. Soak the cylinder head in
oil and heat the oil.
Special Tool - Valve Guide Arbor, 4.5: 57001-1331