Service Manual (KLZ1000C) — page 221 of 762
Clutch › Clutch Lever Installation
Text on this page
CLUTCH 6-7
Clutch Lever and Cable
Clutch Lever Assembly Installation
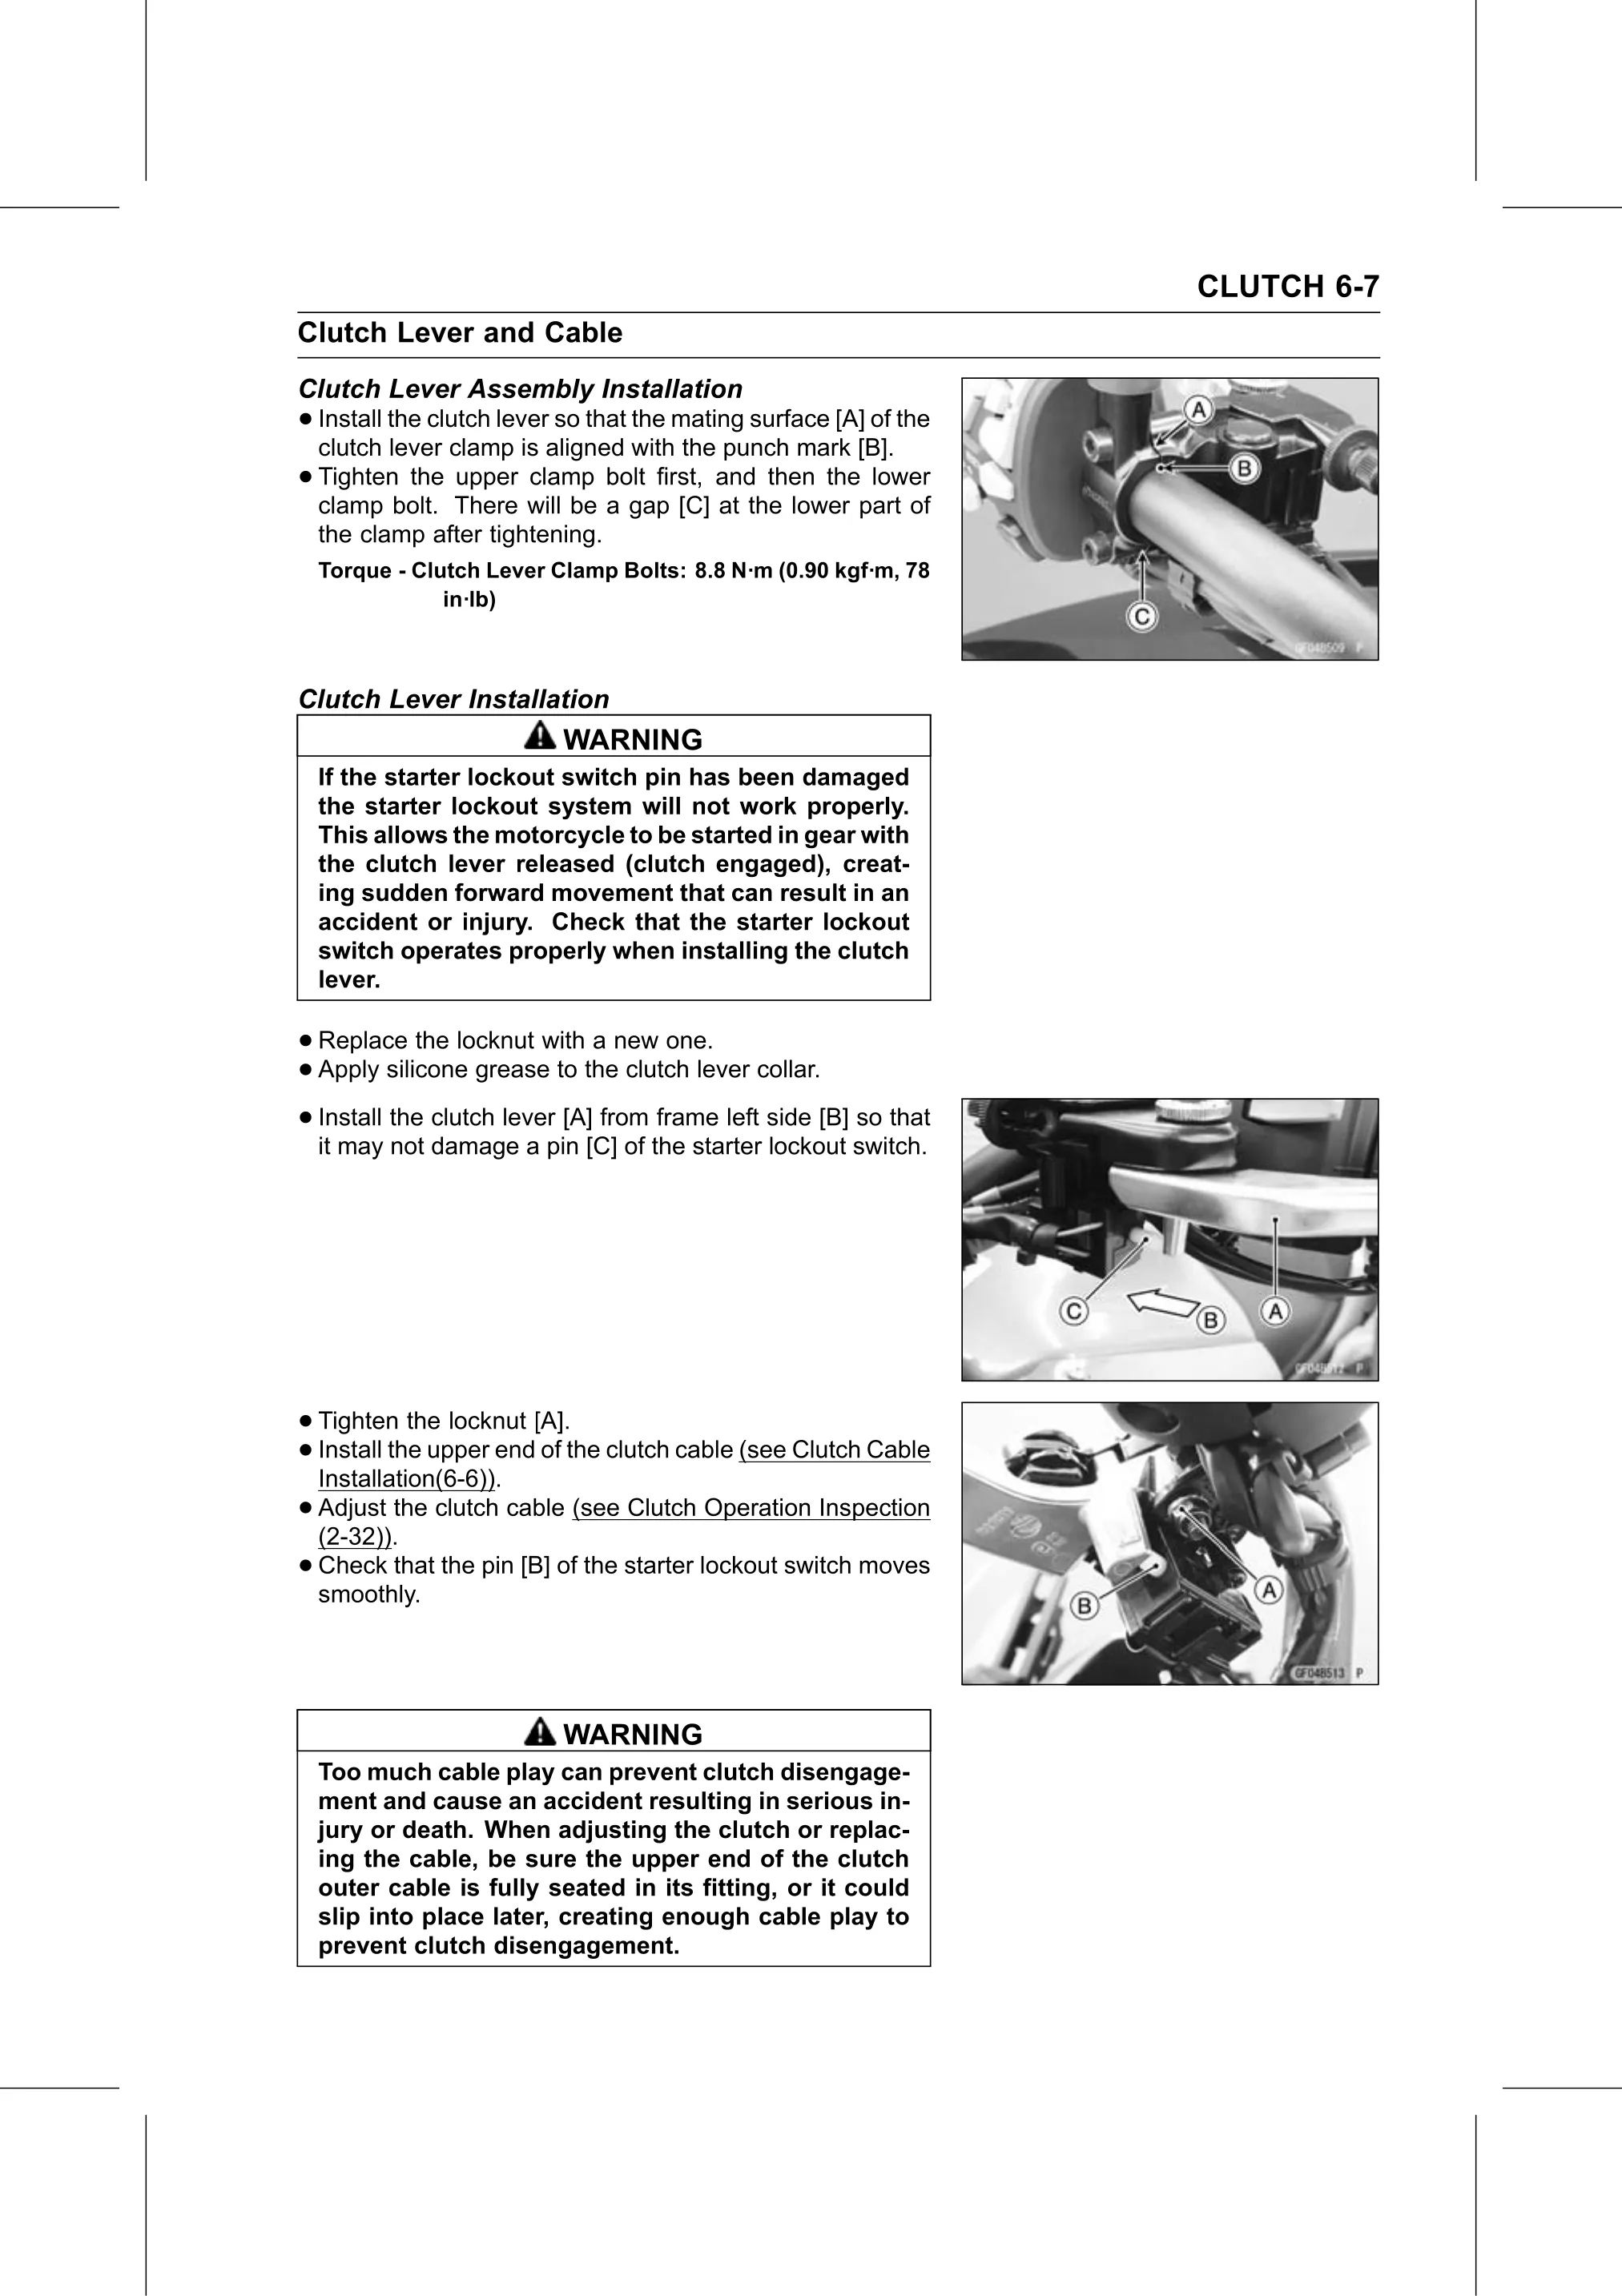
• Install the clutch lever so that the mating surface [A] of the
  clutch lever clamp is aligned with the punch mark [B].
• Tighten   the upper clamp bolt first, and then the lower
  clamp bolt. There will be a gap [C] at the lower part of
  the clamp after tightening.
  Torque - Clutch Lever Clamp Bolts: 8.8 N·m (0.90 kgf·m, 78
              in·lb)

Clutch Lever Installation
                          WARNING
  If the starter lockout switch pin has been damaged
  the starter lockout system will not work properly.
  This allows the motorcycle to be started in gear with
  the clutch lever released (clutch engaged), creat-
  ing sudden forward movement that can result in an
  accident or injury. Check that the starter lockout
  switch operates properly when installing the clutch
  lever.

• Replace   the locknut with a new one.
• Apply silicone grease to the clutch lever collar.
• Install the clutch lever [A] from frame left side [B] so that
  it may not damage a pin [C] of the starter lockout switch.

• Tighten   the locknut [A].
• Installation(6-6)).
  Install the upper end of the clutch cable (see Clutch Cable

• Adjust
  (2-32)).
           the clutch cable (see Clutch Operation Inspection

• Check
  smoothly.
           that the pin [B] of the starter lockout switch moves

                          WARNING
  Too much cable play can prevent clutch disengage-
  ment and cause an accident resulting in serious in-
  jury or death. When adjusting the clutch or replac-
  ing the cable, be sure the upper end of the clutch
  outer cable is fully seated in its fitting, or it could
  slip into place later, creating enough cable play to
  prevent clutch disengagement.