Service Manual (KLZ1000C) — page 514 of 762
Electrical System › Alternator Cover Installation
Text on this page
16-32 ELECTRICAL SYSTEM
Charging System
Alternator Cover Removal
• Drain:
   Engine Oil (see Engine Oil Change(2-33))
• Left Side Cover (see Side Cover Removal(15-23))
  Remove:

     Left Lower Fairing (see Lower Fairing Removal(15-11))
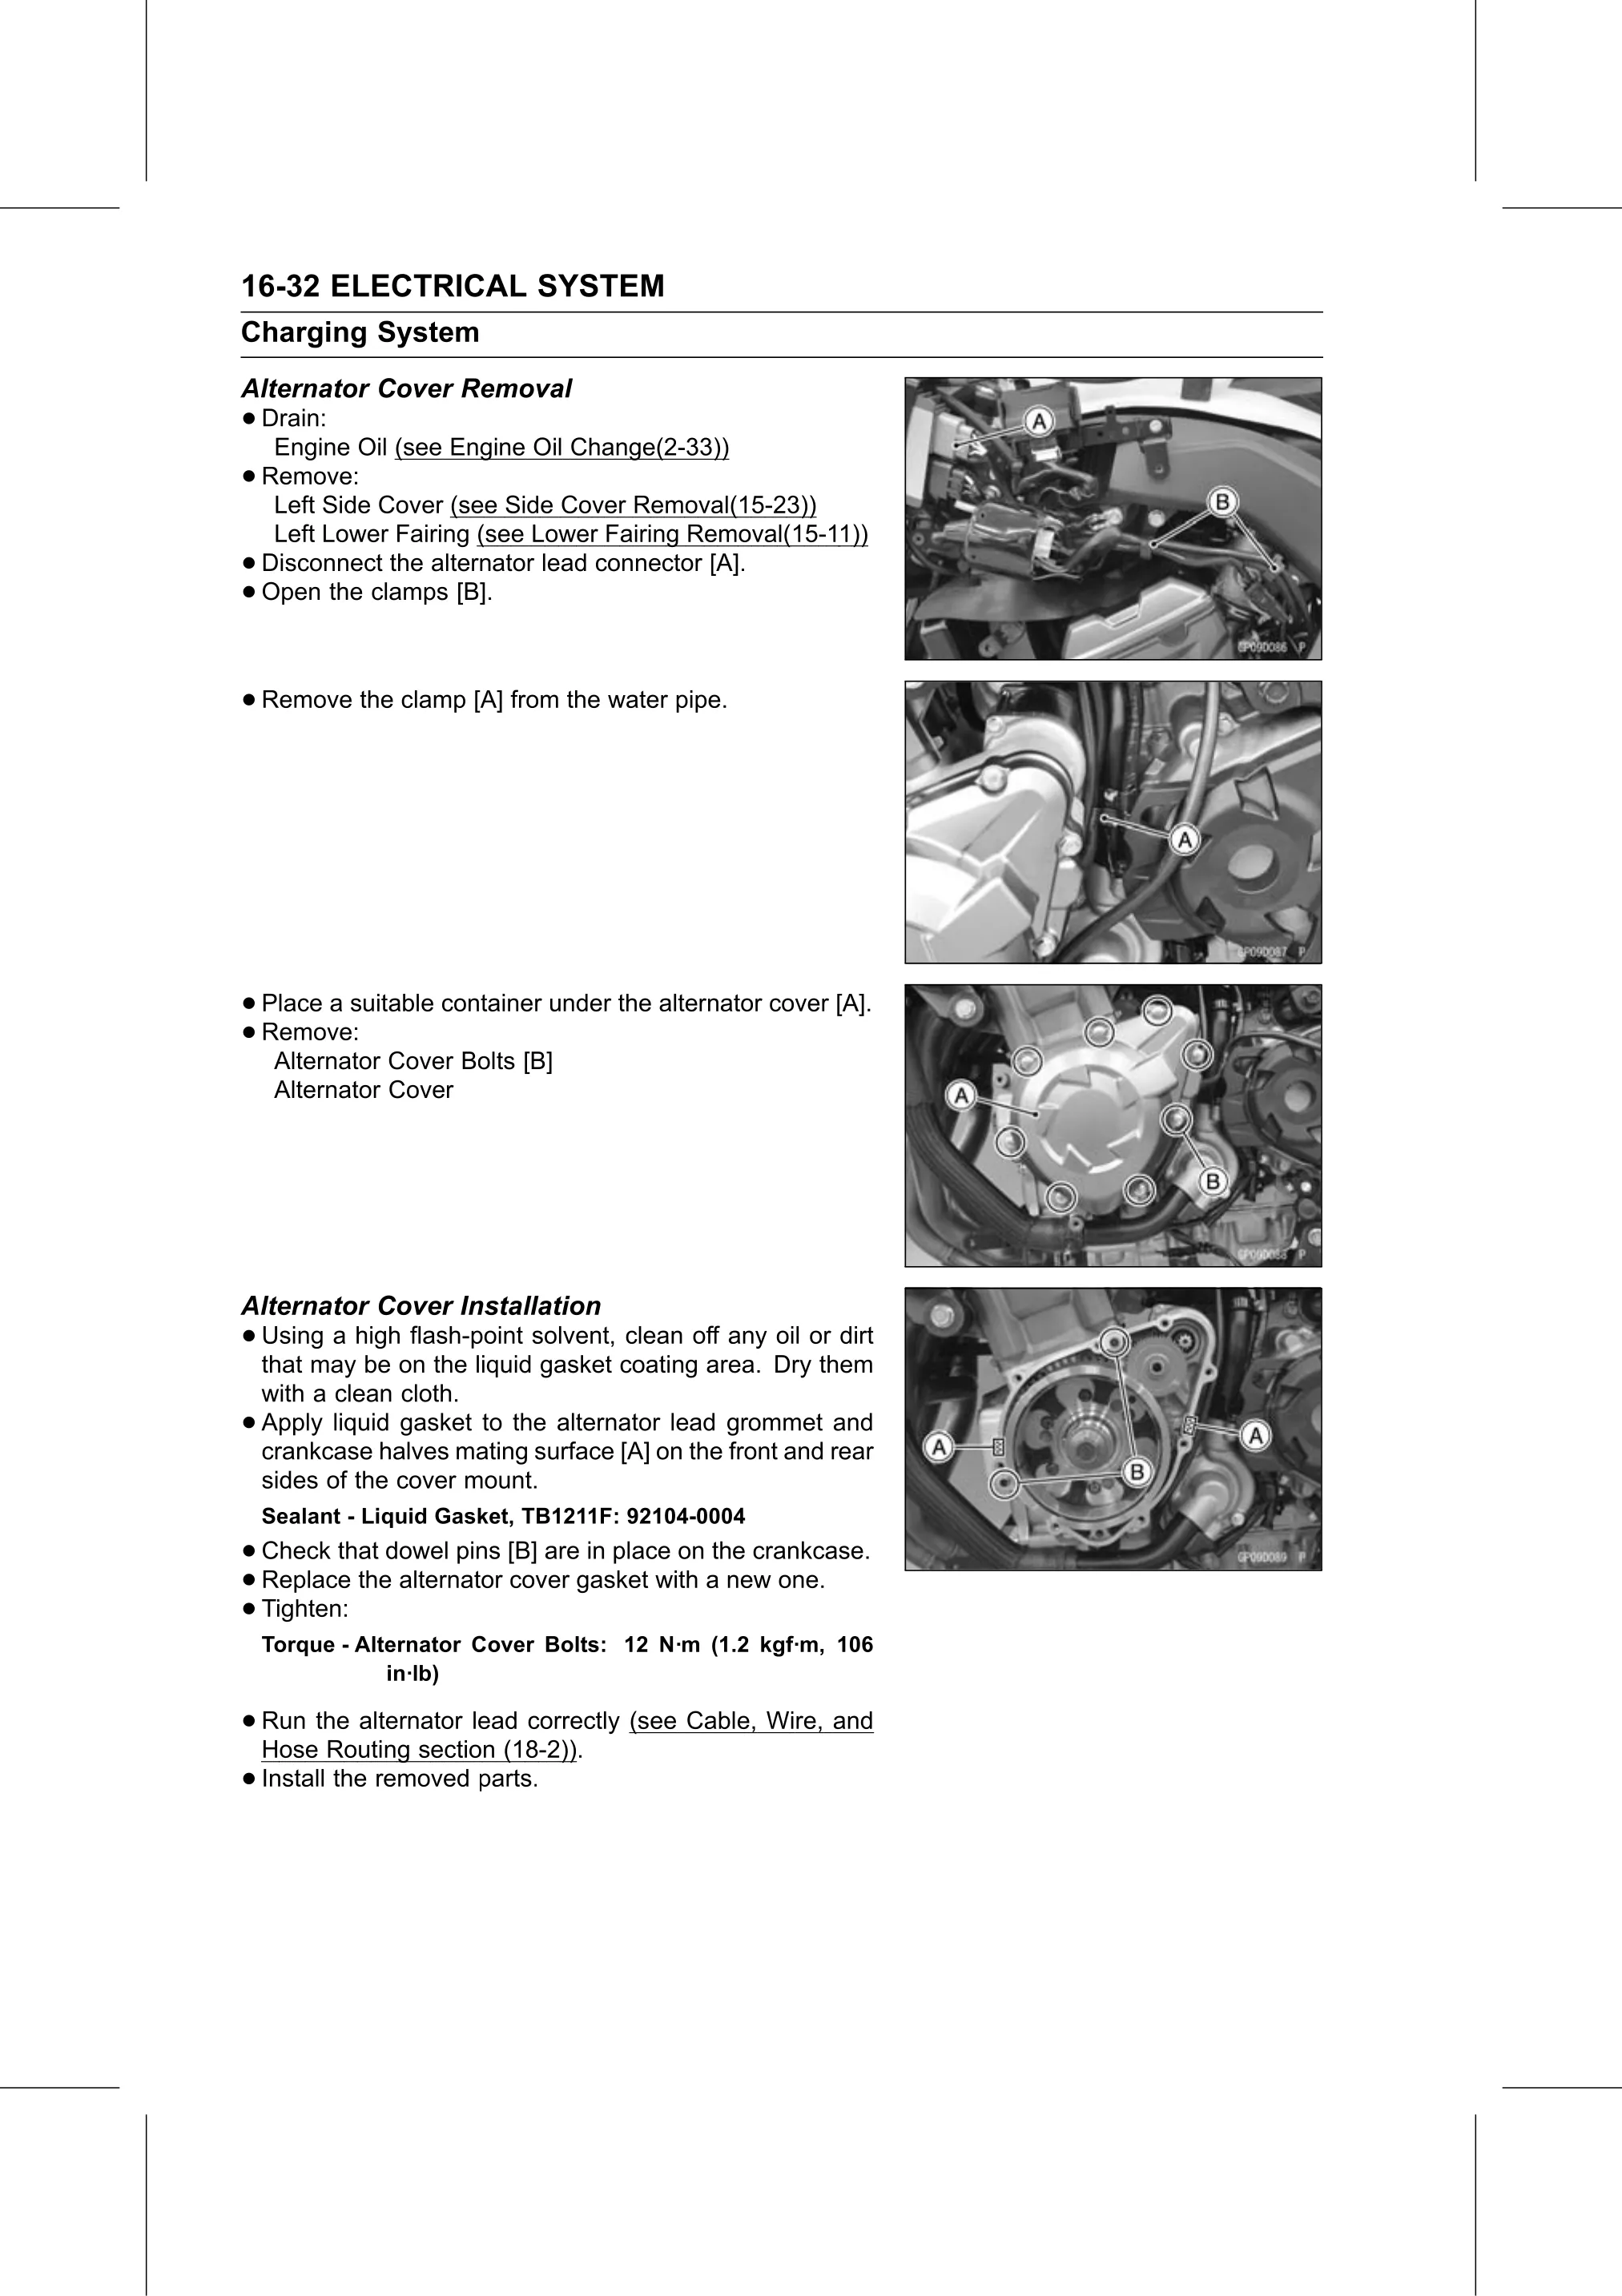
•   Disconnect the alternator lead connector [A].
•   Open the clamps [B].

• Remove the clamp [A] from the water pipe.

• Place a suitable container under the alternator cover [A].
• Alternator Cover Bolts [B]
  Remove:

     Alternator Cover

Alternator Cover Installation
• Using a high flash-point solvent, clean off any oil or dirt
  that may be on the liquid gasket coating area. Dry them
    with a clean cloth.
•   Apply liquid gasket to the alternator lead grommet and
    crankcase halves mating surface [A] on the front and rear
    sides of the cover mount.
    Sealant - Liquid Gasket, TB1211F: 92104-0004
• Check  that dowel pins [B] are in place on the crankcase.
• Tighten: the alternator cover gasket with a new one.
  Replace
•
    Torque - Alternator Cover Bolts: 12 N·m (1.2 kgf·m, 106
                in·lb)

• Run  the alternator lead correctly (see Cable, Wire, and
  Hose Routing section (18-2)).
• Install the removed parts.