Service Manual — page 604 of 715
Electrical System › Stick Coil Installation
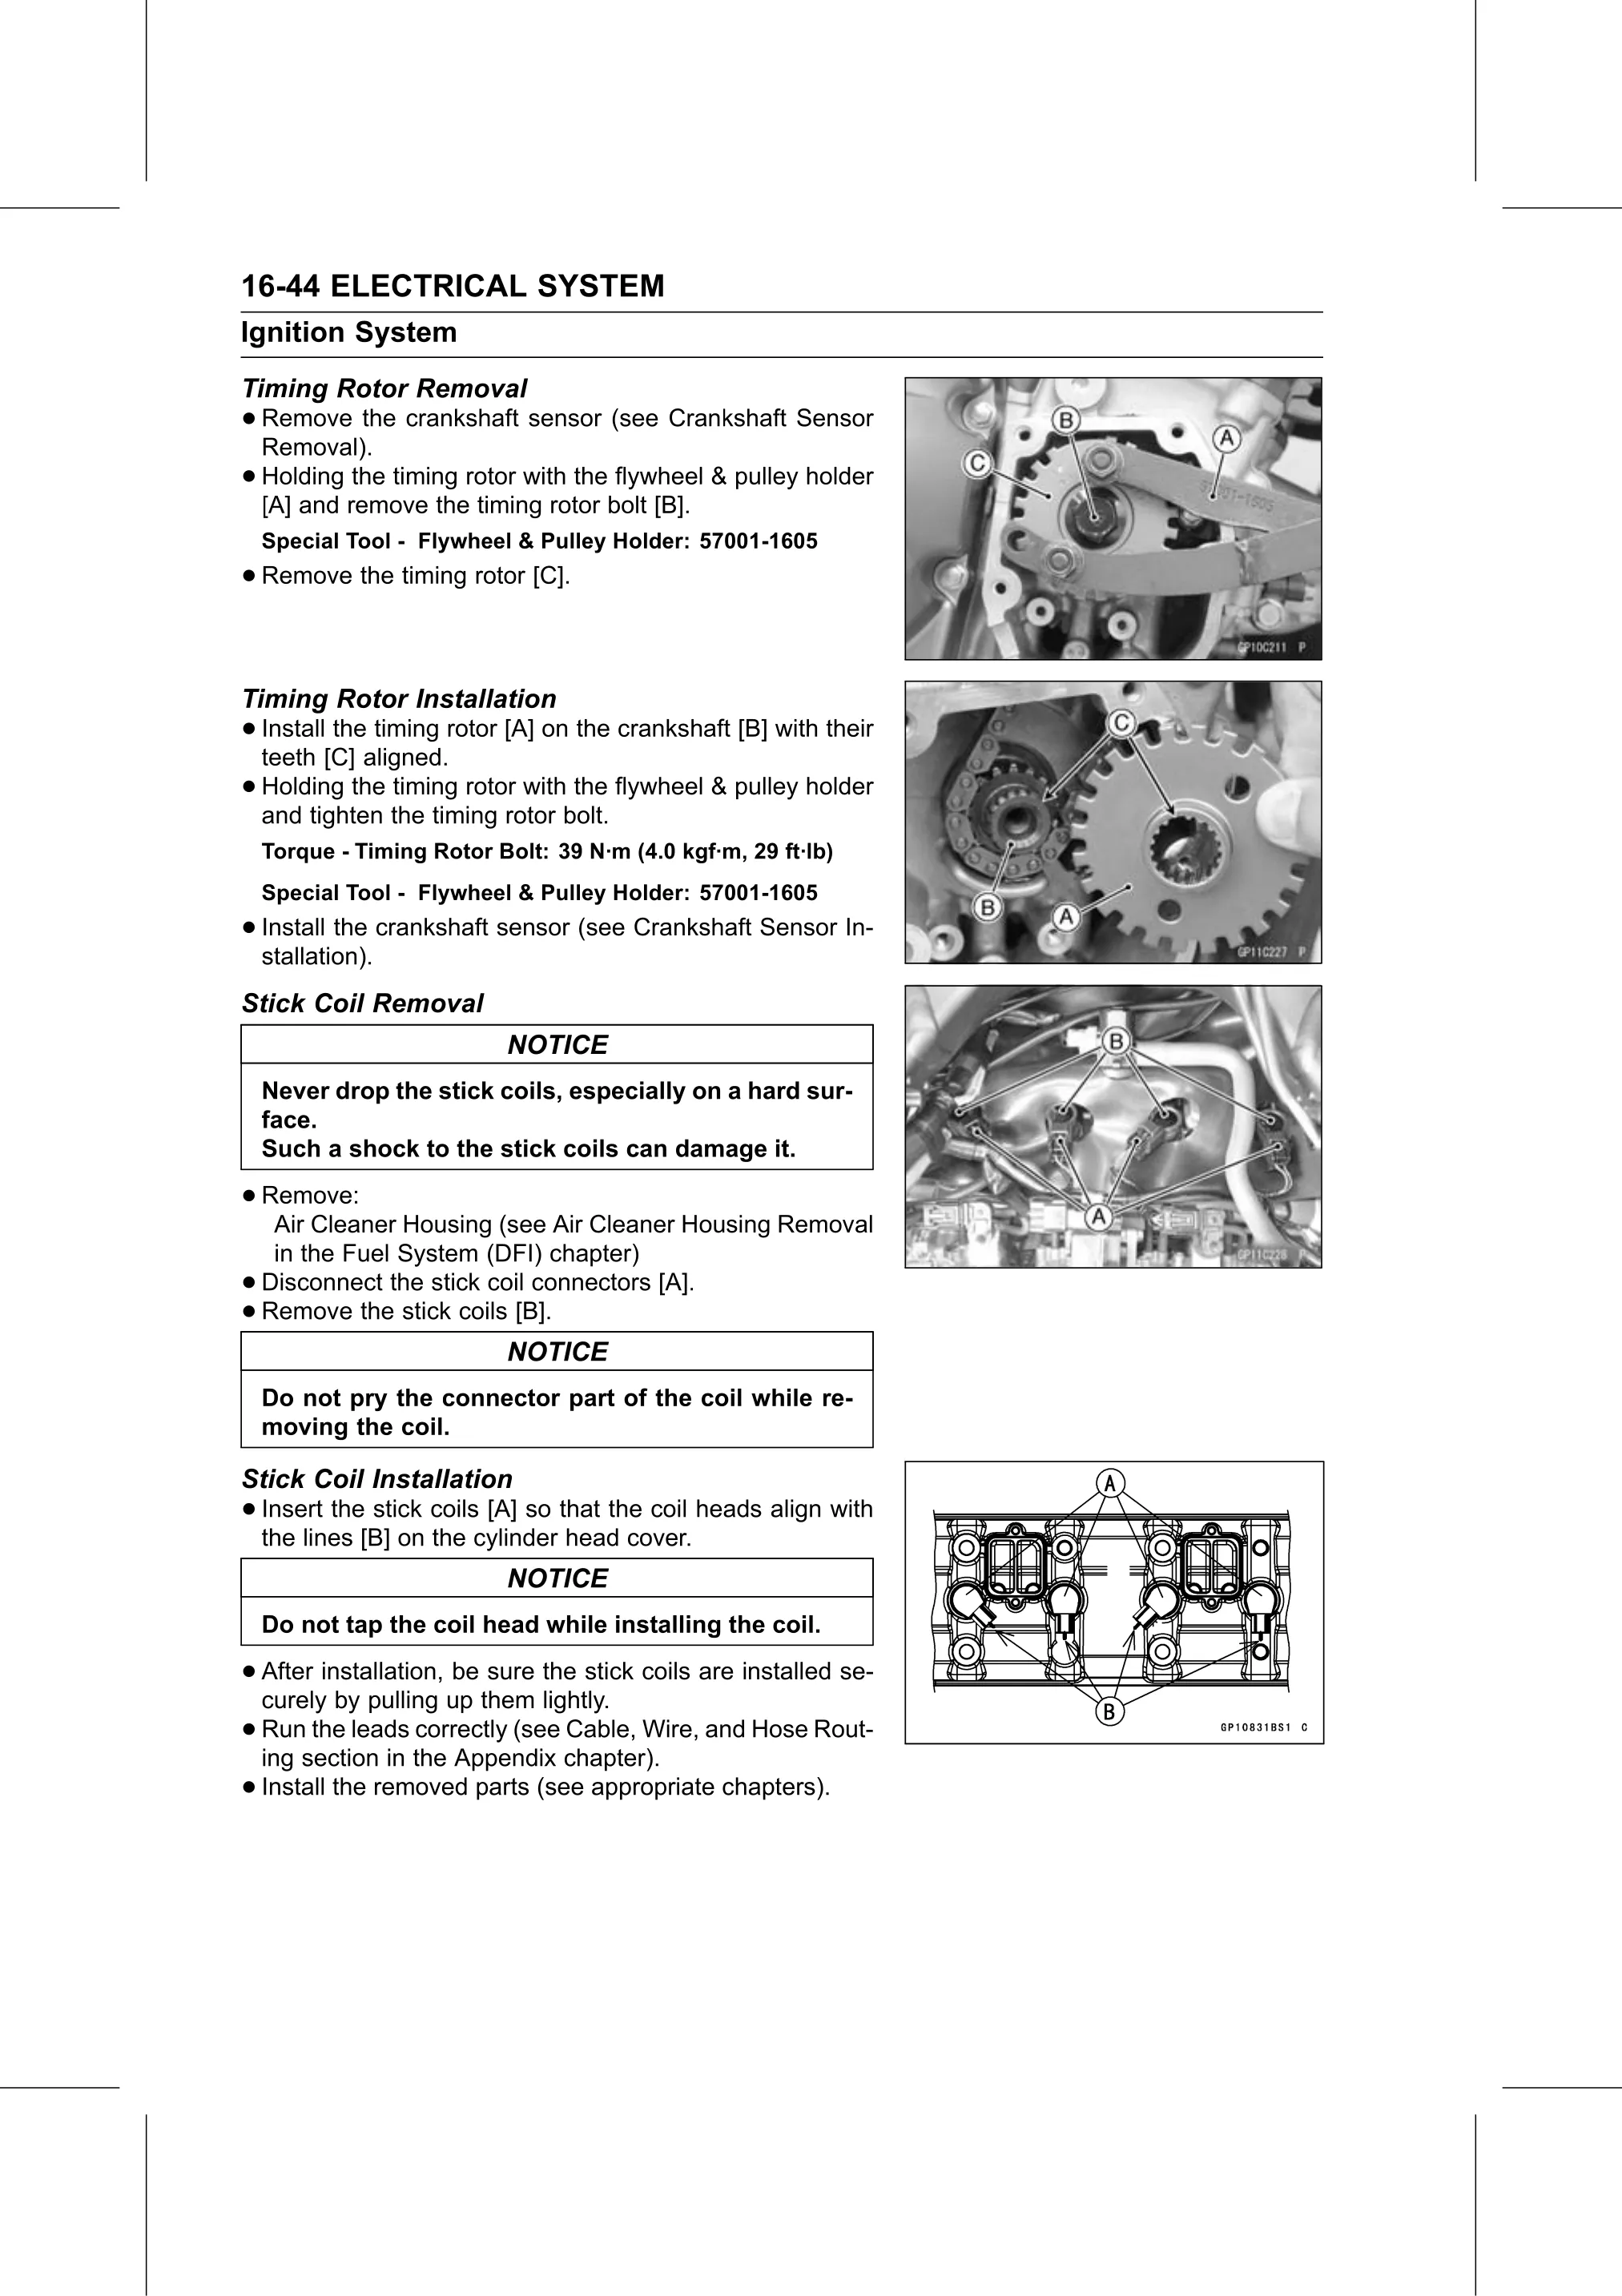
Text on this page
16-44 ELECTRICAL SYSTEM
Ignition System
Timing Rotor Removal
• Remove
  Removal).
            the crankshaft sensor (see Crankshaft Sensor

• Holding  the timing rotor with the flywheel & pulley holder
  [A] and remove the timing rotor bolt [B].
    Special Tool - Flywheel & Pulley Holder: 57001-1605
• Remove the timing rotor [C].

Timing Rotor Installation
• Install the timing rotor [A] on the crankshaft [B] with their
  teeth [C] aligned.
• Holding   the timing rotor with the flywheel & pulley holder
  and tighten the timing rotor bolt.
    Torque - Timing Rotor Bolt: 39 N·m (4.0 kgf·m, 29 ft·lb)
    Special Tool - Flywheel & Pulley Holder: 57001-1605
• Install the crankshaft sensor (see Crankshaft Sensor In-
  stallation).
Stick Coil Removal
                            NOTICE
    Never drop the stick coils, especially on a hard sur-
    face.
    Such a shock to the stick coils can damage it.

• Remove:
   Air Cleaner Housing (see Air Cleaner Housing Removal
     in the Fuel System (DFI) chapter)
•   Disconnect the stick coil connectors [A].
•   Remove the stick coils [B].
                            NOTICE
    Do not pry the connector part of the coil while re-
    moving the coil.

Stick Coil Installation
• Insert the stick coils [A] so that the coil heads align with
  the lines [B] on the cylinder head cover.
                            NOTICE
    Do not tap the coil head while installing the coil.

• After installation, be sure the stick coils are installed se-
  curely by pulling up them lightly.
• Run  the leads correctly (see Cable, Wire, and Hose Rout-
  ing section in the Appendix chapter).
• Install the removed parts (see appropriate chapters).