Service Manual — page 440 of 715
Brakes › Rear Master Cylinder Removal
Text on this page
12-18 BRAKES
Master Cylinder
Front Master Cylinder Removal
• Remove  the banjo bolt to disconnect the brake hose from
  the master cylinder (see Brake Hose Replacement in the
    Periodic Maintenance chapter).
•   Unscrew the clamp bolts [A], and take off the master cylin-
    der [B] as an assembly with the reservoir, brake lever, and
    brake switch installed.
•   Disconnect the front brake light switch connectors [C].
                           NOTICE
    Immediately wash away any brake fluid that spills.

Front Master Cylinder Installation
• Connect    the front brake light switch connectors.
• [A] to the punch
  Set  the front master cylinder to match its mating surface
                     mark [B] of the handlebars.
• Tighten   the upper clamp bolt first, and then the lower
  clamp bolt.
    Torque - Front Master Cylinder Clamp Bolts: 11 N·m (1.1
                kgf·m, 97 in·lb)
• Replace    the washers that are on each side of the hose
  fitting with new ones.
• Tighten:
    Torque - Brake Hose Banjo Bolts: 25 N·m (2.5 kgf·m, 18
                ft·lb)
• Bleed the brake line (see Brake Line Bleeding).
• and nothe
  Check       brake for good braking power, no brake drag,
          fluid leakage.
Rear Master Cylinder Removal
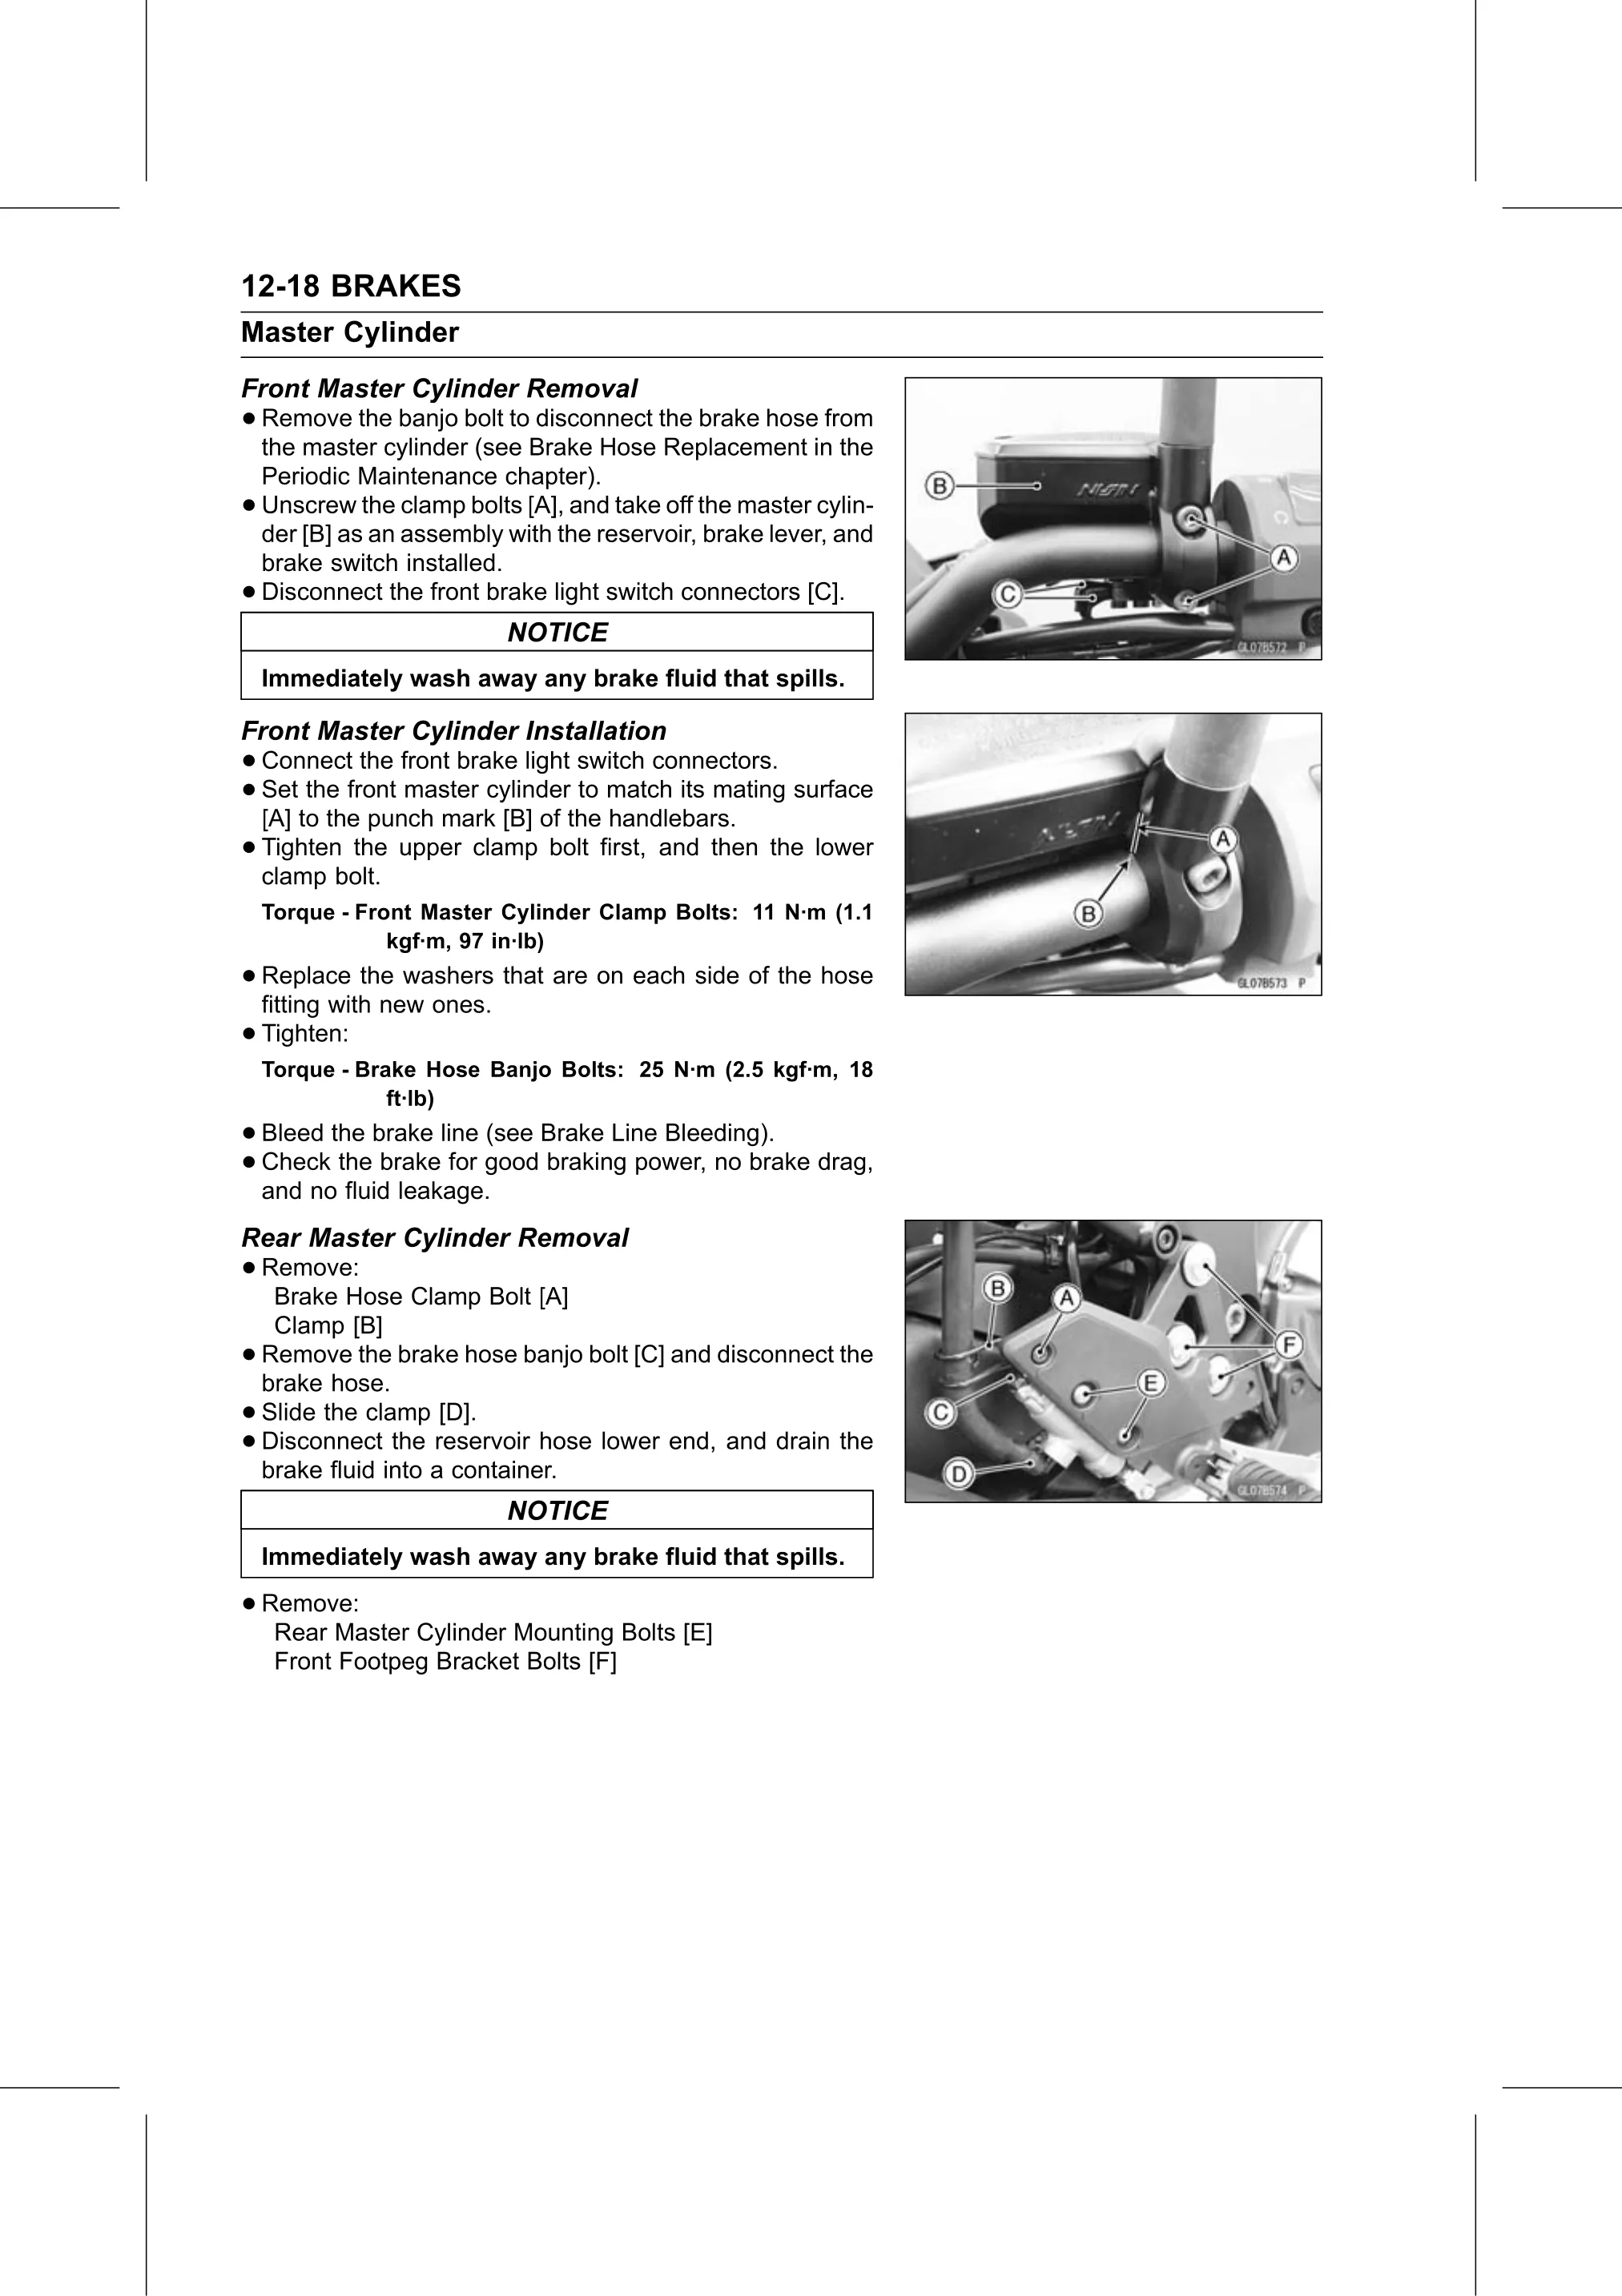
• Remove:
   Brake Hose Clamp Bolt [A]
     Clamp [B]
•   Remove the brake hose banjo bolt [C] and disconnect the
    brake hose.
•   Slide the clamp [D].
•   Disconnect the reservoir hose lower end, and drain the
    brake fluid into a container.
                           NOTICE
    Immediately wash away any brake fluid that spills.

• Remove:
   Rear Master Cylinder Mounting Bolts [E]
     Front Footpeg Bracket Bolts [F]