Service Manual — page 342 of 715
Engine Removal/Installation › Engine Removal
Text on this page
8-8 ENGINE REMOVAL/INSTALLATION
Engine Removal/Installation

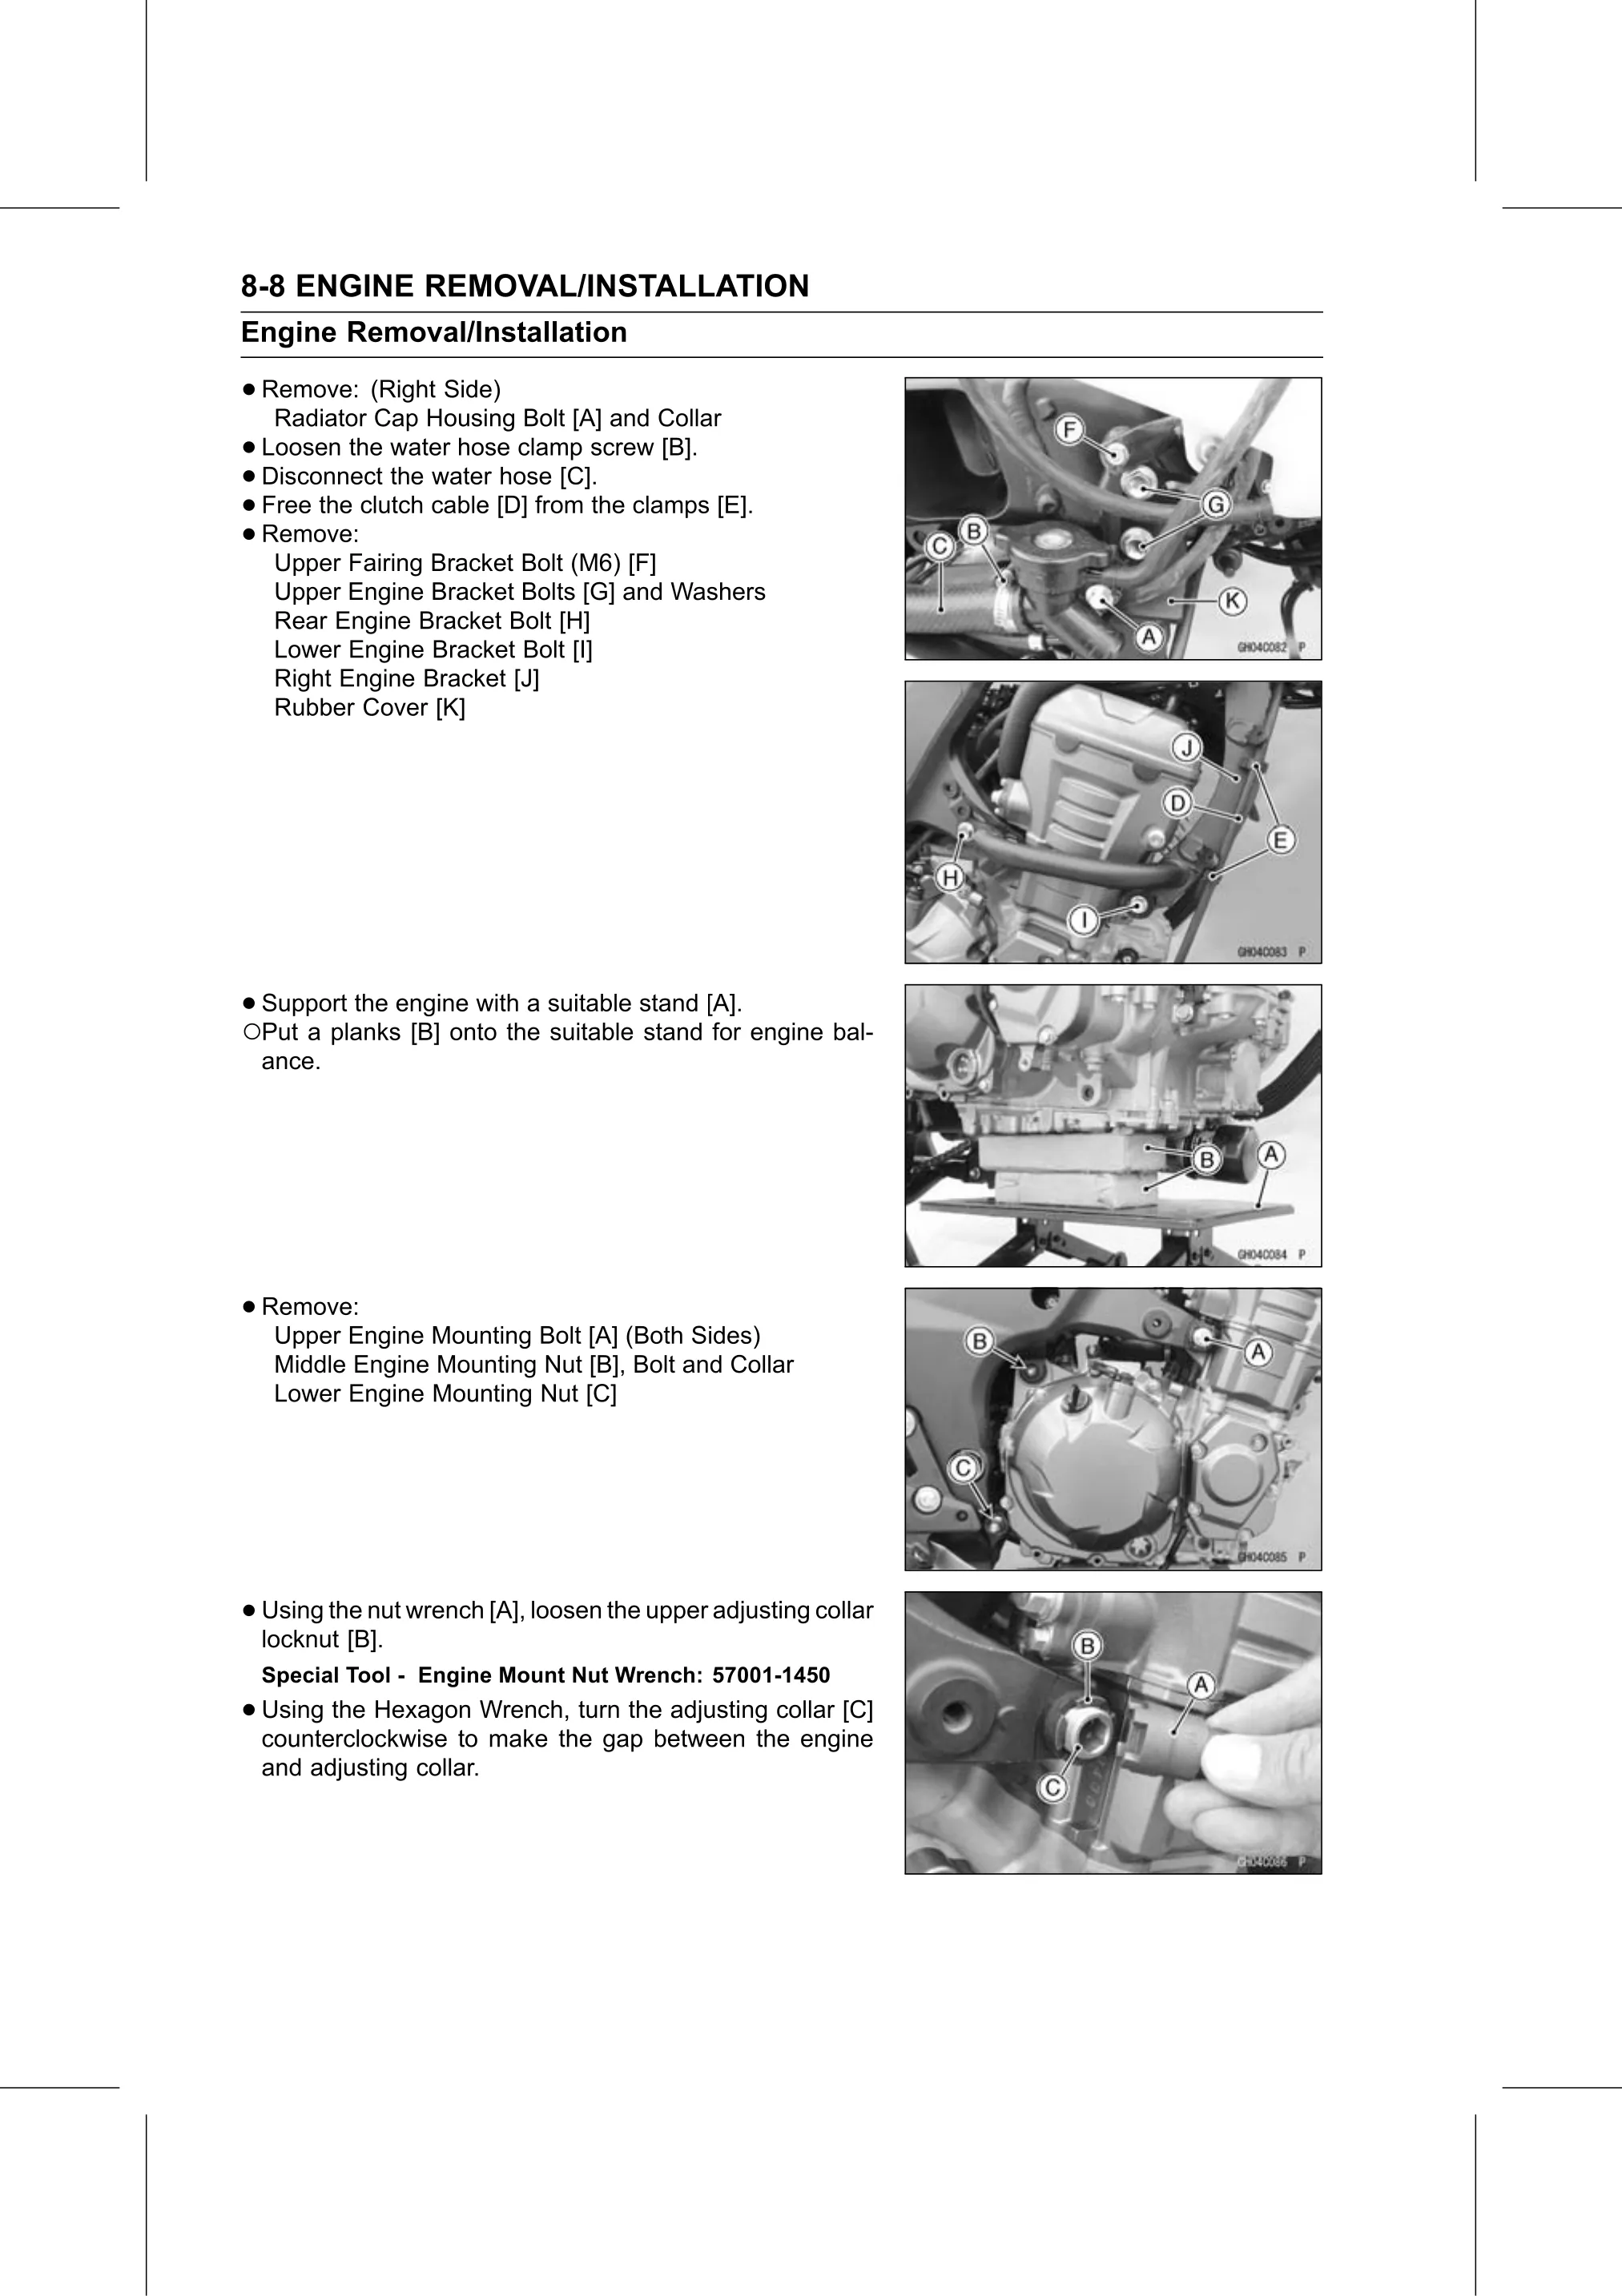
• Remove:   (Right Side)
   Radiator Cap Housing Bolt [A] and Collar
• Loosen  the water hose clamp screw [B].
• Free the clutch
  Disconnect  the water hose [C].
• Remove:         cable [D] from the clamps [E].
• Upper Fairing Bracket Bolt (M6) [F]
   Upper Engine Bracket Bolts [G] and Washers
   Rear Engine Bracket Bolt [H]
   Lower Engine Bracket Bolt [I]
   Right Engine Bracket [J]
   Rubber Cover [K]

•○Support the engine with a suitable stand [A].
  Put a planks [B] onto the suitable stand for engine bal-
  ance.

• Remove:
   Upper Engine Mounting Bolt [A] (Both Sides)
   Middle Engine Mounting Nut [B], Bolt and Collar
   Lower Engine Mounting Nut [C]

• Using the nut wrench [A], loosen the upper adjusting collar
  locknut [B].
  Special Tool - Engine Mount Nut Wrench: 57001-1450
• Using the Hexagon Wrench, turn the adjusting collar [C]
  counterclockwise to make the gap between the engine
  and adjusting collar.