Service Manual — page 551 of 715
Frame › Flap and Rear Fender Removal
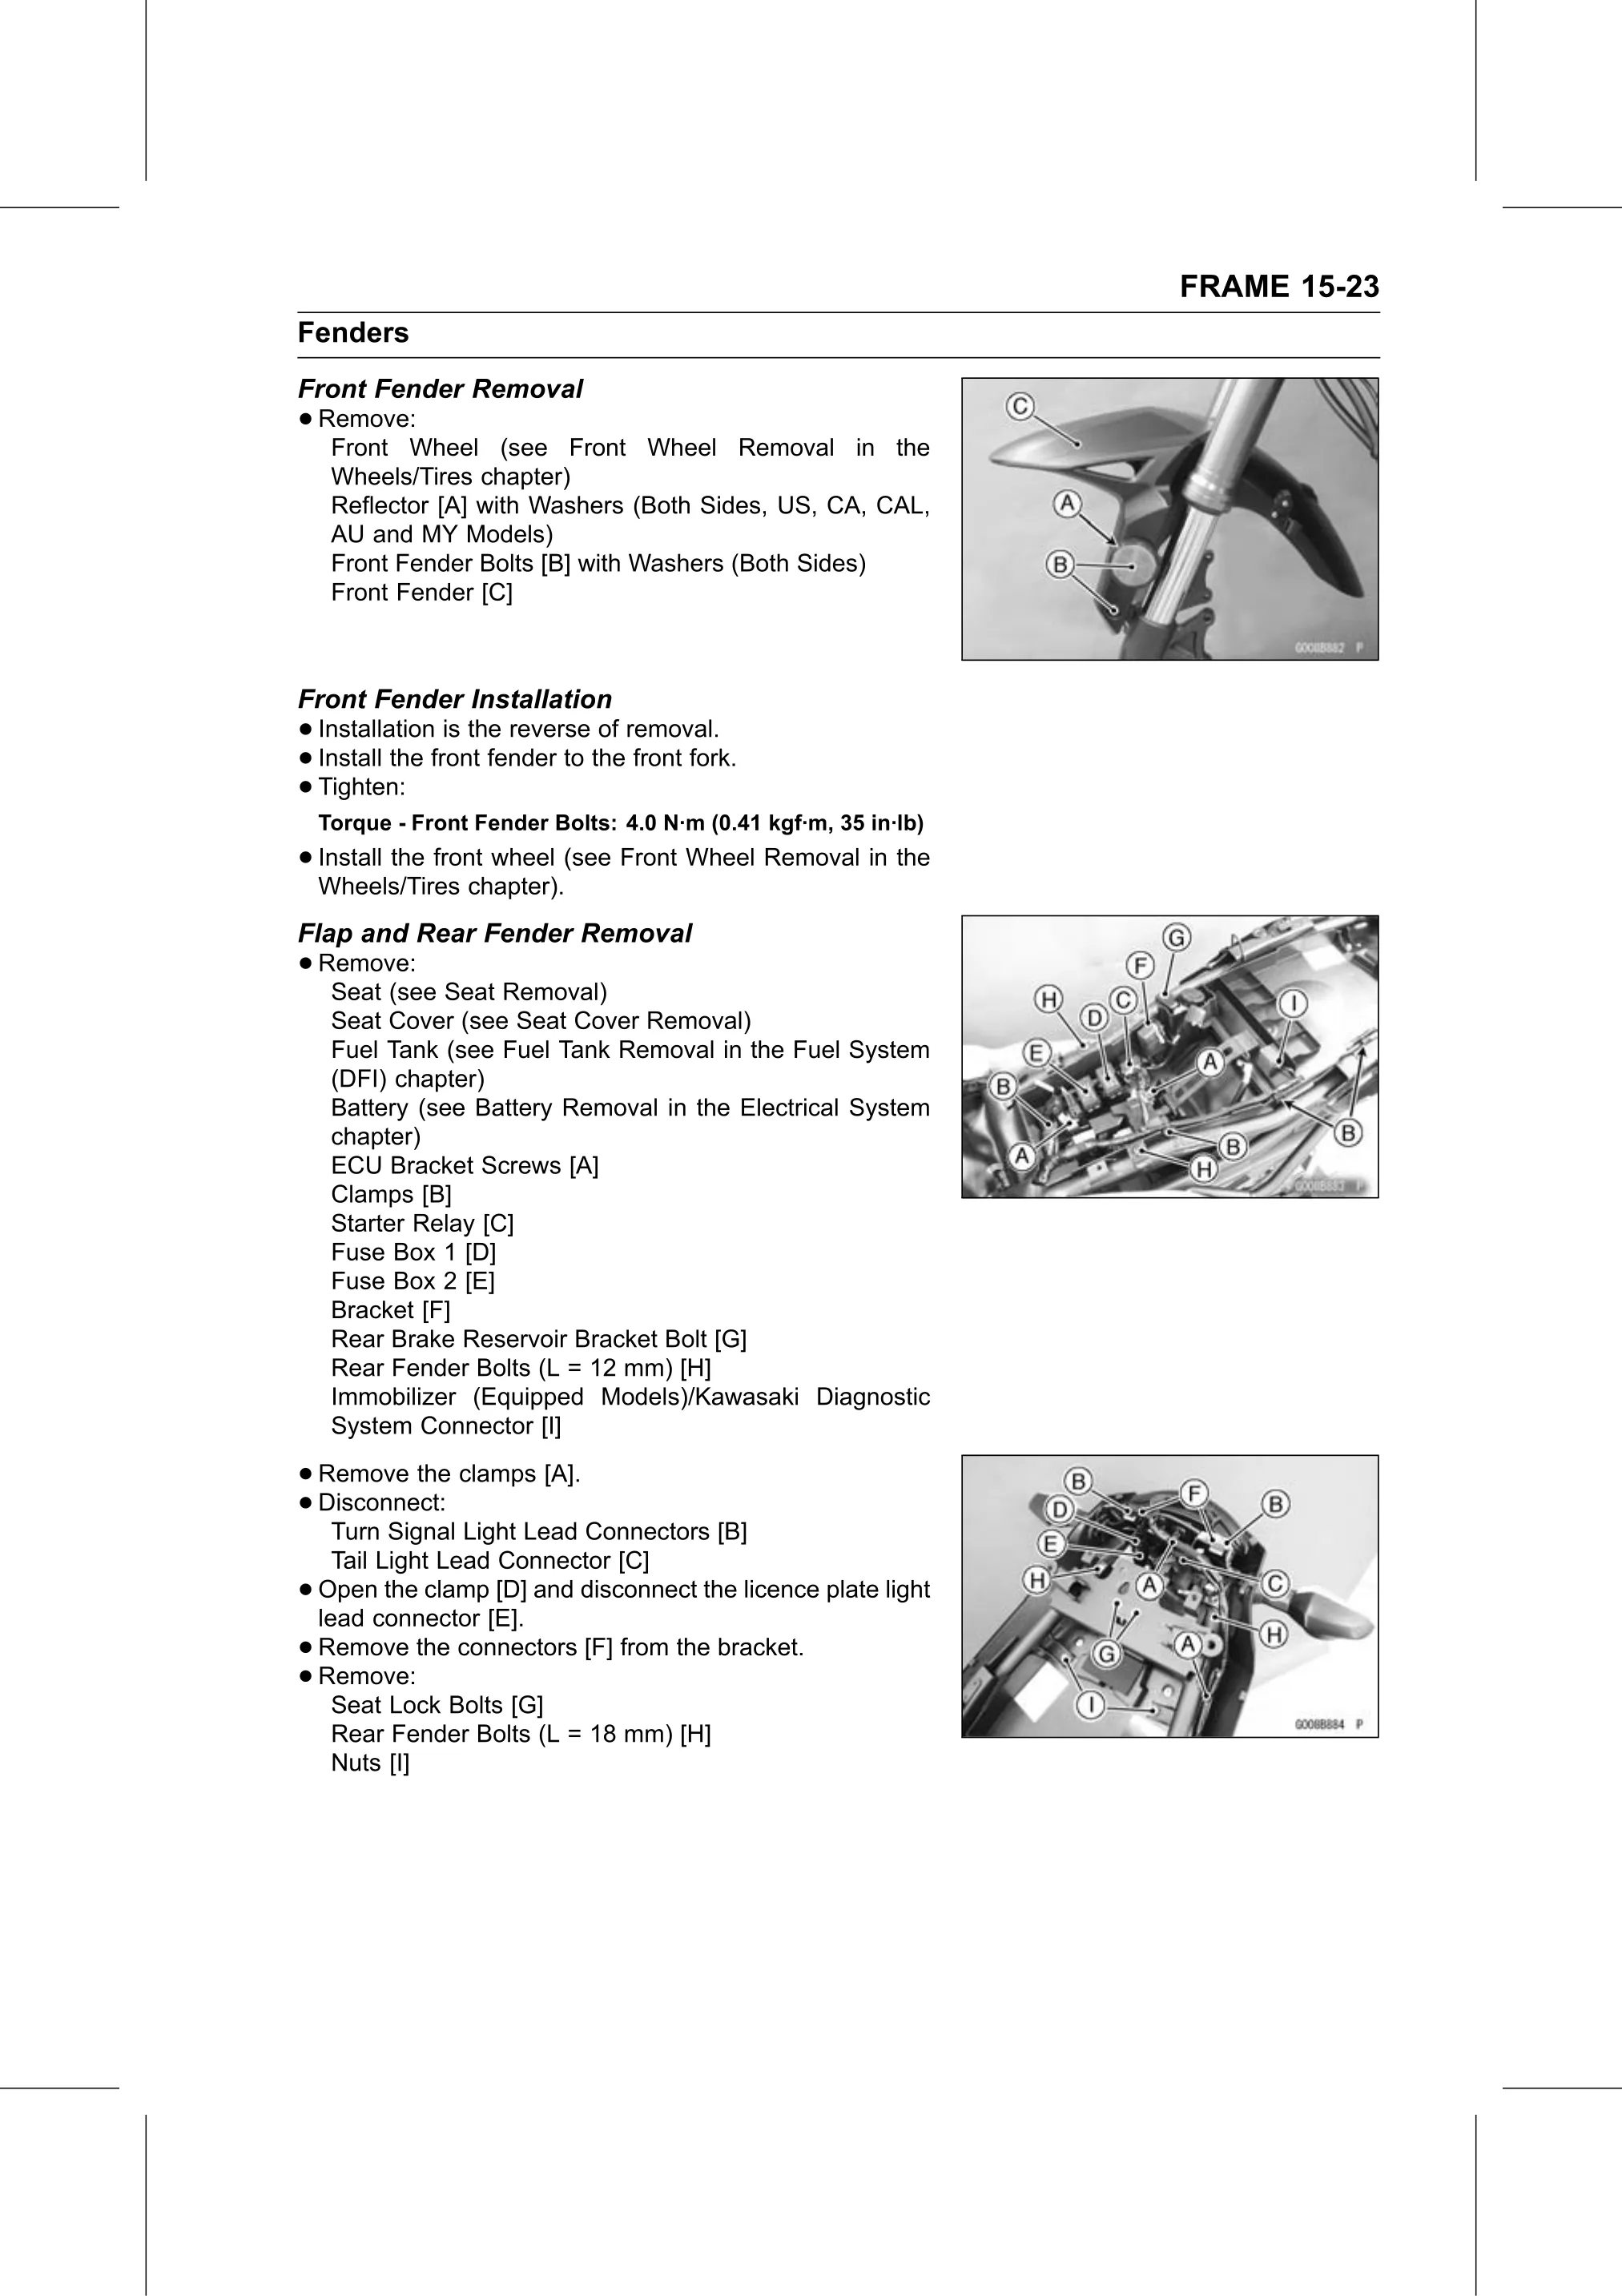
Text on this page
FRAME 15-23
Fenders
Front Fender Removal
• Remove:
   Front Wheel (see Front Wheel Removal in the
     Wheels/Tires chapter)
     Reflector [A] with Washers (Both Sides, US, CA, CAL,
     AU and MY Models)
     Front Fender Bolts [B] with Washers (Both Sides)
     Front Fender [C]

Front Fender Installation
• Installation  is the reverse of removal.
• Install the front fender to the front fork.
• Tighten:
    Torque - Front Fender Bolts: 4.0 N·m (0.41 kgf·m, 35 in·lb)
• Install the front wheel (see Front Wheel Removal in the
  Wheels/Tires chapter).
Flap and Rear Fender Removal
• Remove:
   Seat (see Seat Removal)
     Seat Cover (see Seat Cover Removal)
     Fuel Tank (see Fuel Tank Removal in the Fuel System
     (DFI) chapter)
     Battery (see Battery Removal in the Electrical System
     chapter)
     ECU Bracket Screws [A]
     Clamps [B]
     Starter Relay [C]
     Fuse Box 1 [D]
     Fuse Box 2 [E]
     Bracket [F]
     Rear Brake Reservoir Bracket Bolt [G]
     Rear Fender Bolts (L = 12 mm) [H]
     Immobilizer (Equipped Models)/Kawasaki Diagnostic
     System Connector [I]

• Remove  the clamps [A].
• Turn Signal Light Lead Connectors [B]
  Disconnect:

      Tail Light Lead Connector [C]
•   Open the clamp [D] and disconnect the licence plate light
    lead connector [E].
•   Remove the connectors [F] from the bracket.
•   Remove:
      Seat Lock Bolts [G]
      Rear Fender Bolts (L = 18 mm) [H]
      Nuts [I]